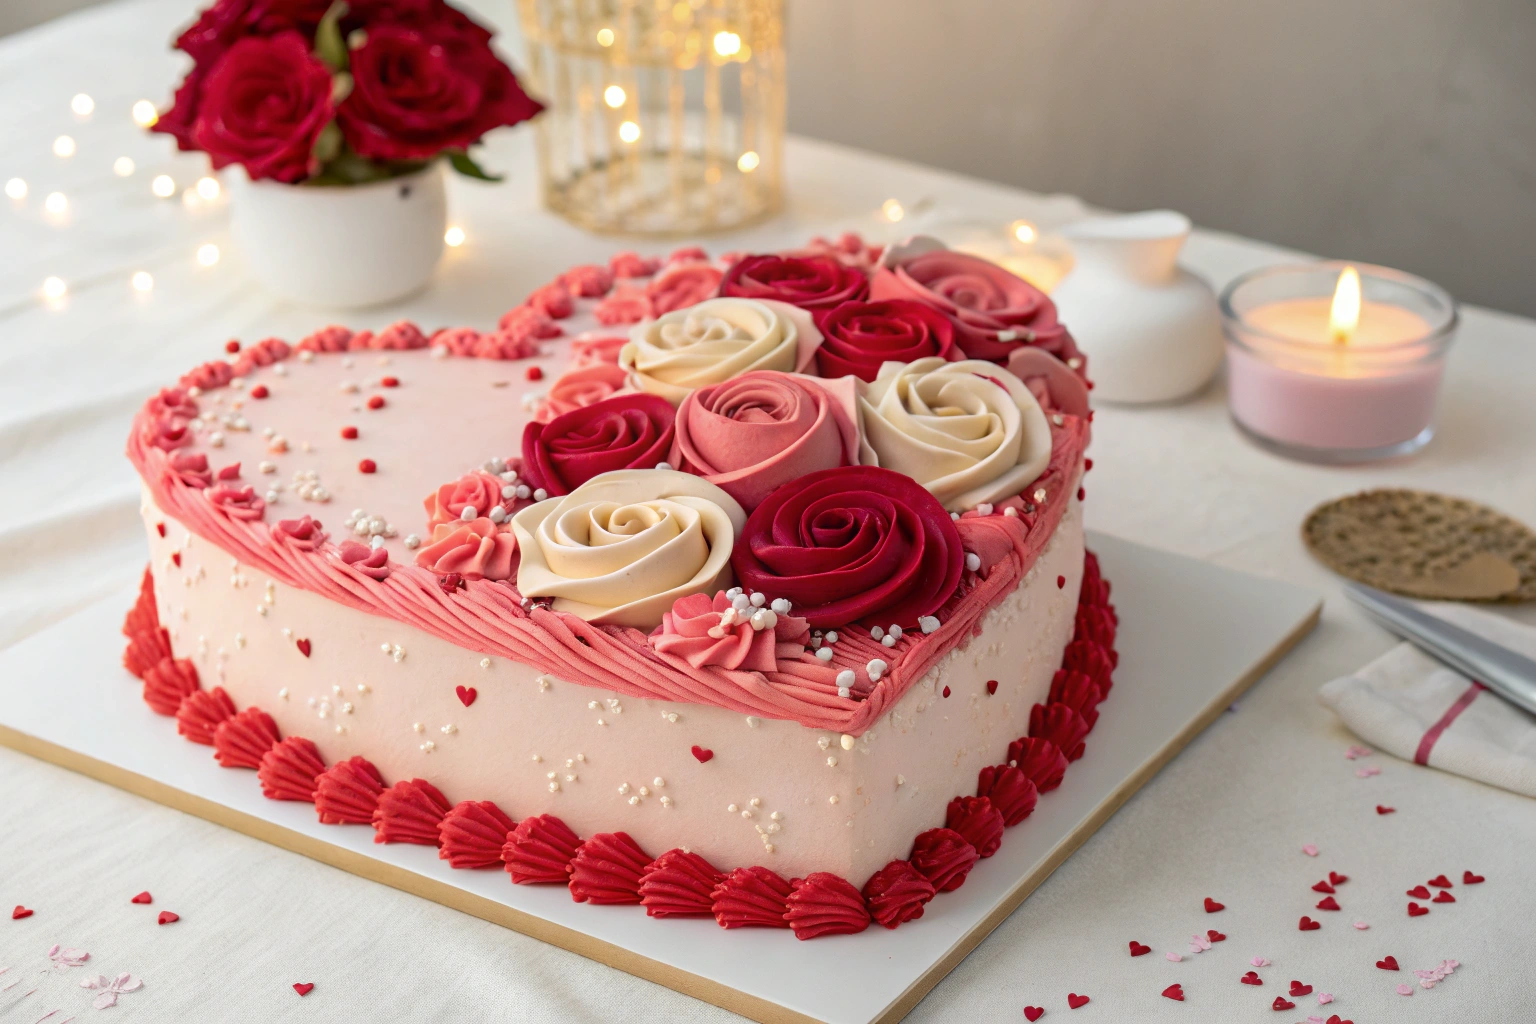
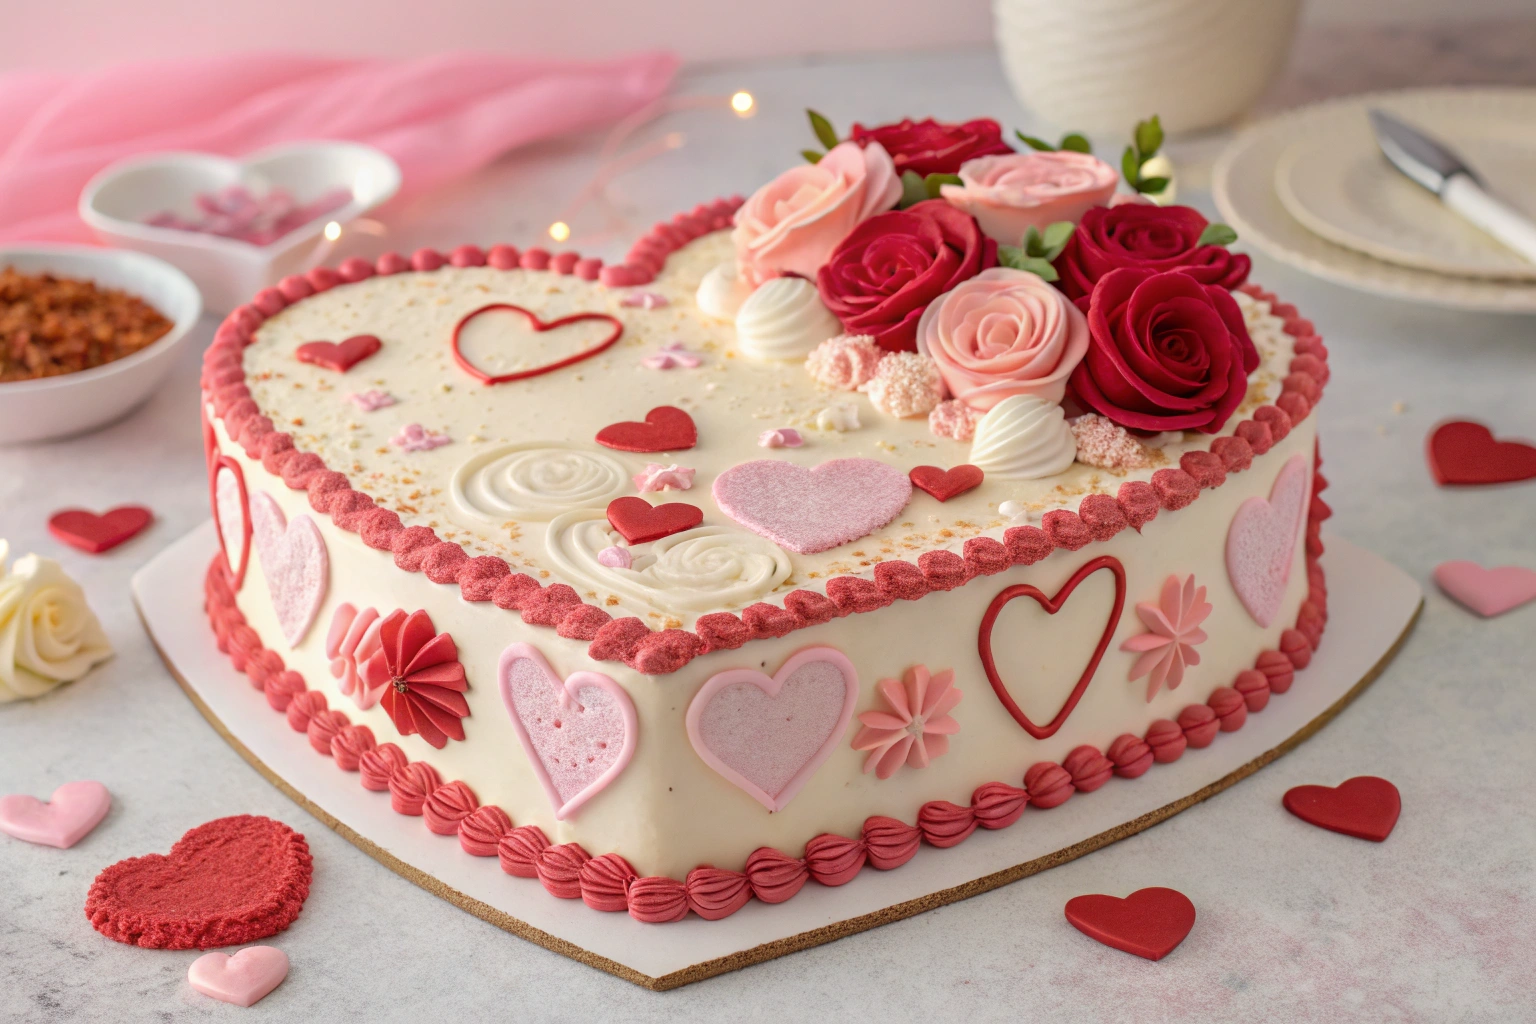
Valentine’s Day is all about expressing love, and what better way to do so than with a homemade treat? Cake pops are a delightful, customizable, and fun dessert that’s perfect for this special day. Whether you’re baking for a romantic evening, a fun gathering, or just because you want to share a little sweetness with your loved ones, Valentine’s Day cake pops are the perfect way to do it. These bite-sized treats combine cake, frosting, and a chocolate coating, creating an irresistible dessert that’s as cute as it is delicious.
What Are Cake Pops and Why Are They Perfect for Valentine’s Day?
Cake pops are small, round balls of cake mixed with frosting, then coated in chocolate and served on a stick. They are the perfect bite-sized dessert and an exciting twist on traditional Valentine’s Day treats. Here’s why these sweet snacks are ideal for the occasion:
- Easy to Customize: Cake pops can be decorated in countless ways. You can use pink, red, or white chocolate, sprinkles, edible glitter, or even heart-shaped candies. The possibilities are endless!
- Perfect for Gifting: Packed in a cute gift box, cake pops make thoughtful, homemade gifts for anyone special in your life. They show that you’ve put time and care into your gift.
- Fun and Interactive: Making cake pops is a great Valentine’s activity for couples, friends, or kids. It’s a fun, hands-on experience that allows you to bond and be creative.
- No Utensils Needed: Unlike cakes or cupcakes, cake pops are easy to eat without utensils. Simply pick them up by the stick and enjoy the deliciousness!

Ingredients You’ll Need to Make Valentine’s Day Cake Pops
Before you get started on your cake pops, make sure you have all the necessary ingredients. Here’s a simple list:
For the Cake:
- 1 box of vanilla or chocolate cake mix (or you can use a homemade cake recipe)
- Ingredients required for the cake mix (usually eggs, oil, and water)
For the Frosting:
- ½ cup of cream cheese frosting or buttercream frosting (store-bought or homemade)
For the Coating:
- 2 cups of white, milk, or dark chocolate (melted)
- Red or pink food coloring (if using white chocolate)
For Decoration:
- Valentine’s-themed sprinkles, edible glitter, or heart-shaped candies
- Lollipop sticks or paper straws
- Styrofoam block or cake pop stand (for drying the cake pops)
Step-by-Step Guide to Making Valentine’s Cake Pops
Creating Valentine’s Day cake pops doesn’t have to be difficult! Just follow these simple steps for the perfect, irresistible treat:
Step 1: Bake the Cake
- Preheat your oven according to the instructions on the cake mix box or your homemade recipe.
- Bake the cake in a 9×13-inch pan for even cooking. Let it cool completely before you move on to the next step. This ensures that the cake won’t melt the frosting when mixed in.
Step 2: Crumble and Mix
- Once the cake is cooled, crumble it into fine pieces using your hands or a food processor.
- Add frosting gradually, one spoonful at a time. Mix until the cake and frosting form a dough-like consistency. Be careful not to add too much frosting at once, as it could make the mixture too soft.
Step 3: Shape the Cake Pops
- Scoop small portions of the cake mixture and roll them into balls about 1 inch in diameter.
- Place the shaped balls onto a baking sheet lined with parchment paper to prevent sticking.
- Freeze them for 15-20 minutes. This step helps the cake pops firm up, making them easier to coat later.
Step 4: Insert the Sticks
- Melt some chocolate and dip the tip of each lollipop stick into the melted chocolate. This helps the stick stay in place.
- Insert the stick into the center of each cake ball, making sure not to push it all the way through.
- Freeze the cake pops for another 5 minutes so the sticks are secured in place.
Step 5: Coat in Chocolate
- Melt your chocolate in a microwave-safe bowl or double boiler, stirring until smooth.
- If you’re using white chocolate, add a few drops of red or pink food coloring to give your cake pops a festive, Valentine’s Day look.
- Dip each cake pop into the melted chocolate, making sure it’s completely covered. Allow any excess chocolate to drip off before moving to the next step.
Step 6: Decorate and Dry
- While the coating is still wet, sprinkle with Valentine’s-themed sprinkles, edible glitter, or heart-shaped candies for a beautiful touch.
- Insert the cake pops into a Styrofoam block or cake pop stand and let them dry completely. This step prevents them from touching any surfaces while they set.

Creative Decoration Ideas for Valentine’s Day Cake Pops
Cake pops are the perfect canvas for creativity. Here are a few ways you can add some flair to your Valentine’s treats:
Classic Designs:
- Drizzled Chocolate: Use a contrasting chocolate color (like white over dark or milk) to drizzle thin lines over the pops for a fun and stylish look.
- Sprinkles Galore: Cover the cake pops with festive red, pink, and white sprinkles for a colorful, eye-catching effect.
- Heart Toppers: Place tiny heart-shaped candies or edible pearls on top of the coating for an added touch of romance.
Advanced Decorating Ideas:
- Message Cake Pops: Use edible markers to write sweet messages like “Love,” “Be Mine,” or “XOXO” on your cake pops for a personalized touch.
- Glitter Coating: Dust your cake pops with edible glitter for an extra sparkle that will catch everyone’s eye.
- Two-Tone Pops: Dip the cake pops halfway in white chocolate, then drizzle with pink or red chocolate for a two-tone effect.
How to Store and Package Your Cake Pops
Proper storage and packaging will keep your Valentine’s Day cake pops fresh and cute until it’s time to share them. Here’s how to store and package your creations:
Storing Cake Pops:
- Keep cake pops in an airtight container at room temperature for up to 3 days.
- If you want to keep them fresh longer, store them in the fridge for up to a week.
- You can also freeze uncoated cake balls for up to 2 months. Coat them with chocolate when you’re ready to serve.
Packaging for Gifting:
- Wrap each cake pop in a clear cellophane bag and tie it with a red or pink ribbon.
- Arrange them in a decorative gift box with shredded paper filler for a charming presentation.
- For a personalized touch, place the cake pops in a cute Valentine’s mug or jar before gifting.
Fun Variations of Valentine’s Day Cake Pops
Want to get a little more creative with your cake pops? Here are some fun variations to try:
- Red Velvet Cake Pops: Use red velvet cake for a rich, vibrant color that’s perfect for Valentine’s Day.
- Strawberry Cheesecake Cake Pops: Mix strawberry cake with cream cheese frosting for a delicious twist.
- Chocolate Lovers’ Cake Pops: Dip in dark chocolate and sprinkle with mini chocolate chips for extra indulgence.
- Oreo Cake Pops: Crush Oreos into the cake mixture for a delightful cookies-and-cream flavor.
- Vegan Cake Pops: Use dairy-free cake, frosting, and chocolate for a vegan-friendly treat.
Why You Should Make Your Own Valentine’s Day Cake Pops
While it’s easy to buy store-bought sweets, making your own Valentine’s Day cake pops offers numerous benefits:
- Fresh Ingredients: Homemade cake pops are free from preservatives, ensuring a fresher, more natural taste.
- Fully Customizable: From flavors to decorations, you have full control over how your cake pops turn out. Add your favorite flavor combinations, colors, and toppings to make them your own.
- Cost-Effective: Making cake pops at home is more budget-friendly than buying them from a bakery.
- Personal Touch: Homemade treats show effort, love, and thoughtfulness—perfect for Valentine’s Day.

The History of Cake Pops: A Sweet Evolution
Cake pops are a beloved treat today, but their story is more recent than most might think. Although the idea of combining cake and frosting into bite-sized treats dates back decades, the modern cake pop as we know it began gaining popularity in the early 2000s. It’s believed that cake pops were first introduced by Bakerella, a popular food blogger. She took the concept of cake balls, which had been around for a while, and elevated them by placing them on sticks, making them more fun, portable, and visually appealing.
Cake pops quickly became a staple at parties and celebrations, with their versatility making them perfect for a variety of occasions, from birthdays to holidays. They brought a fresh twist to traditional desserts like cake and cupcakes, making them easy to customize for any theme, including Valentine’s Day. The idea of presenting cake in a bite-sized, easy-to-eat format on a stick also made cake pops a popular option for weddings, showers, and corporate events.
Today, cake pops are synonymous with creativity. They can be decorated with different coatings, fillings, and toppings, allowing for endless customization. Whether you are using them as gifts or serving them at a gathering, cake pops have become a universal favorite, showcasing the timeless appeal of cake in a fun, innovative new form.
Tips for Perfecting the Cake Pop Consistency
Achieving the perfect consistency for your cake pops is crucial for a smooth, successful process. Whether you’re making them for a special occasion or simply for fun, getting the texture right ensures your pops hold their shape and have the ideal bite. Here are a few tips for perfecting the cake pop consistency:
- Start with Crumbs: Once your cake has cooled, crumble it finely using your hands or a food processor. The finer the crumbs, the smoother your cake pops will be.
- Add Frosting Gradually: When mixing the frosting into your crumbled cake, add it slowly. You can always add more, but it’s hard to take it out if you’ve added too much. Start with a few spoonfuls at a time and mix until the consistency resembles dough—moist but not wet.
- Test Consistency: Before shaping the mixture into balls, test the consistency by rolling a small portion in your hands. If the ball holds together without crumbling or becoming too sticky, you’re ready to go.
- Refrigerate If Needed: If the mixture is too wet or soft, pop it in the fridge for 15-20 minutes to firm up before rolling.
This balance of cake and frosting is key to making sure your cake pops turn out perfect every time, with the right firmness to hold up during the dipping and decorating process.
How to Make Cake Pops Without Cake Mix
For those who want to skip the boxed cake mix, making homemade cake pops from scratch is a simple yet rewarding option. It allows you to control the flavors and ingredients, resulting in a more personalized treat. Here’s how to make your cake pops without relying on pre-made cake mix:
- Bake Your Cake: Start by baking your favorite homemade cake. You can choose from a variety of recipes—whether it’s classic vanilla, rich chocolate, or even a fun flavor like red velvet. Let the cake cool completely.
- Crumble the Cake: Once your cake is cool, crumble it into fine crumbs using your hands or a food processor. Be sure the pieces are small and uniform for a smoother texture.
- Make Your Frosting: You can either use store-bought frosting or make your own. A simple buttercream or cream cheese frosting works well. Mix it into the crumbled cake little by little. Continue adding frosting until the mixture reaches a dough-like consistency, moist but not too wet.
- Shape and Dip: Roll the mixture into small balls, about 1 inch in diameter, and proceed with the usual cake pop steps: dip the sticks in melted chocolate, insert into the cake balls, coat, and decorate.
Homemade cake pops give you the freedom to experiment with flavors and designs, ensuring your treats are as unique and delicious as you want them to be. Plus, homemade means no preservatives or artificial additives—just pure, wholesome goodness.
Troubleshooting Common Cake Pop Issues
Making cake pops is an art, and like any craft, it can come with its share of challenges. Fortunately, most common issues have easy fixes that ensure your cake pops turn out beautifully every time. Here’s a guide to troubleshooting:
- Cracked Coating: A cracked coating is often caused by chocolate that is too thick. If this happens, simply add a small amount of vegetable oil or shortening to your melted chocolate to make it thinner and smoother. This will help create a more even coating that won’t crack as it cools.
- Cake Pops Falling Off the Stick: If the cake pops keep falling off the stick, it’s likely because the stick isn’t secured properly in the cake. To prevent this, dip the stick in melted chocolate before inserting it into the cake ball. The chocolate helps to anchor the stick and prevent it from slipping.
- Uneven Coating: Achieving a smooth, even coating can be tricky. To ensure this, make sure the chocolate is melted properly and not too hot. If it’s too hot, it can melt the cake ball, while chocolate that’s too cool can create a rough texture. After dipping, gently tap the stick to allow excess chocolate to drip off, resulting in a cleaner, smoother finish.
- Sinking Decorations: When using sprinkles, glitter, or other decorations, it’s important to do so before the chocolate hardens. If you wait too long, the decorations might slide off or sink into the coating. Make sure to add the decorations while the chocolate is still wet to ensure they stick.
These simple solutions will help you avoid common problems and elevate your cake pops into perfectly crafted treats every time!
Creative Flavor Combinations for Cake Pops
While classic cake pop flavors like chocolate and vanilla will always be beloved, adding unique twists can take your cake pops to the next level. Here are some creative flavor combinations that will surprise and delight your taste buds:
- Salted Caramel & Chocolate: Start with a rich chocolate cake base and swirl in a touch of salted caramel frosting. The sweet and salty combination creates a perfectly balanced treat. Additionally, you can dip the cake pops in a layer of caramel chocolate for an extra indulgent finish.
- Lemon & Blueberry: For a refreshing option, try a lemon cake base with blueberry frosting. The tangy lemon and sweet blueberry complement each other beautifully, creating a light and zesty treat. To add a touch of elegance, you can drizzle white chocolate over the pops for an added burst of flavor.
- Coconut & Lime: If you love tropical flavors, this combination is for you. A coconut cake mixed with lime frosting offers a delightful, citrusy twist. Coating the pops in shredded coconut adds texture and makes them look visually appealing.
- Peanut Butter & Jelly: Take inspiration from a classic sandwich by combining peanut butter cake with strawberry or grape jelly frosting. This nostalgic flavor combo is a fun twist that’s sure to please both kids and adults alike. You can even drizzle some extra peanut butter on top for an extra peanutty flavor.
- Pumpkin Spice: Especially popular in the fall, pumpkin spice cake mixed with cream cheese frosting creates a warm, spiced treat perfect for cozy gatherings. Top with a sprinkle of cinnamon for the ultimate fall-inspired cake pop.

Conclusion
These creative combinations give you the freedom to personalize your cake pops and ensure there’s something for everyone, regardless of the occasion. What’s more, don’t hesitate to experiment with your own flavor pairings! By choosing the perfect frosting, cake base, and decorations, you can make your cake pops a true reflection of your unique style and taste.
Ready to Try Making Your Own Valentine’s Cake Pops?
Now that you have all the essential steps, tips, and creative ideas, it’s time to put your baking skills to the test! Valentine’s Day cake pops are a delicious and fun way to express your love and affection. Whether you’re preparing them for a special someone, sharing them with friends, or delighting your family, these adorable treats are guaranteed to be a crowd-pleaser.
Additionally, we’d love to see your cake pop creations! Feel free to tag us on social media or leave a comment below sharing how your cake pops turned out. Remember, the most important thing is to have fun and spread love—one delicious bite at a time!

