Introduction
Looking for a creative dessert for your next baseball-themed party? A baseball cake is the perfect centerpiece! Whether you’re celebrating a birthday, game day, or a sports team event, a baseball cake will score big points with your guests. For other crowd-pleasing desserts, try this Nestle Chocolate Chip Cookie Recipe or the classic Nestle Ice Cream Sandwich for a sweet treat lineup.
In this guide, we’ll show you how to make a stunning baseball cake, whether you’re a baking beginner or a pro looking for fresh ideas. From ingredients to step-by-step instructions to decoration tips, we’ve got you covered! Let’s get started on crafting this crowd-pleasing, sports-inspired treat.
What You Need to Make a Baseball Cake
Before diving into the baking process, preparation is key. Gathering all your ingredients and tools ahead of time ensures a smooth workflow and makes the decorating process more enjoyable. Let’s break down what you’ll need to bring your baseball cake vision to life.
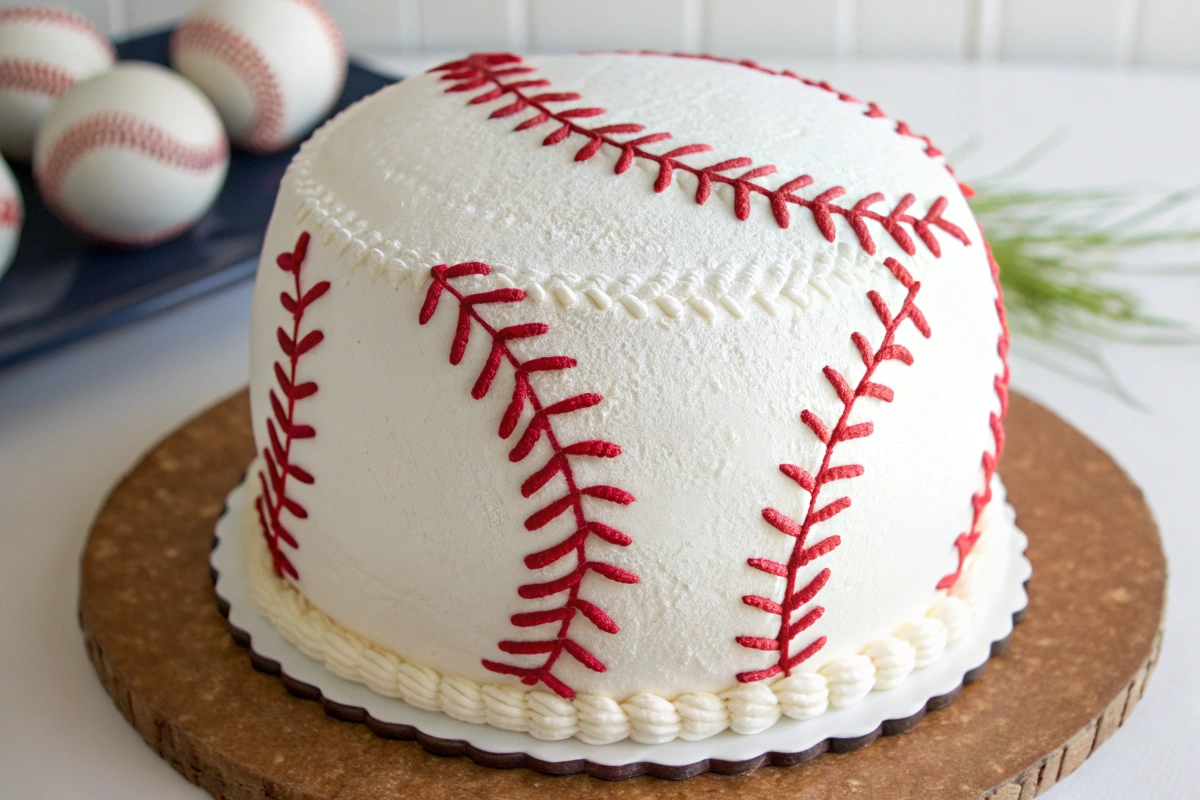
Ingredients for a Perfect Baseball Cake
Whether you’re a seasoned baker or just starting, the right ingredients make all the difference. Here’s what you need:
Cake Mix or Homemade Recipe
Choose a store-bought cake mix for convenience or bake from scratch using your favorite recipe. Vanilla, chocolate, or funfetti – pick a flavor that’ll delight your guests. If you’re in the mood for a savory dinner before dessert, check out these Chicken and Peppers Recipes or some quick and delicious Baked Chicken Cutlets.
White Frosting or Fondant
You’ll need a smooth, white base to replicate the iconic baseball look. Use frosting for a classic approach or fondant for a more polished, professional finish.
Red Food Coloring
This is essential for creating those recognizable red stitching details. A little goes a long way, so add it gradually for the perfect shade.
Black or Colored Fondant (Optional)
Want to personalize your cake with team logos, names, or numbers? Black or colored fondant allows you to add extra detail and flair. Pair it with themed sides like Avocado Corn Salsa Toast for a fresh, vibrant snack.
Tools
The right tools make decorating a breeze. Here’s what to have on hand:
Two Round Cake Pans (8 or 9 Inches)
These pans help you create a classic round baseball shape. The size keeps it manageable while delivering enough cake to serve a group.
Offset Spatula
An offset spatula ensures smooth, even frosting on the cake’s surface – a must for that clean, baseball look.
Piping Bags and Round Tips
For detailed designs like stitching or lettering, piping bags with round tips provide precision and control.
Toothpicks or Ruler
Use these for scoring guidelines to ensure your stitching lines or decorations are evenly spaced. This step guarantees a professional finish.
Food-Safe Brush (Optional)
For those who want to add extra precision with logos or fine details, a food-safe brush is a helpful tool.
Cake Stand or Turntable
This isn’t just for pros! A cake stand or turntable allows you to rotate the cake easily, making decorating smooth, even, and fun.
If you’re looking to serve drinks with your dessert, try this refreshing Low-Calorie Skinny Margarita to complement the sweetness of your baseball cake.
Time to Bake and Decorate
Once you’ve gathered your ingredients and tools, you’re ready to begin. Having everything organized ahead of time ensures a stress-free, creative baking experience. Now, get ready to bring your baseball cake to life and wow your guests with a show-stopping dessert!
Step-by-Step Guide to Create a Baseball Cake
Creating a baseball cake might seem intricate, but breaking it into clear steps makes the process simple and enjoyable. With a little preparation and patience, you can bake a cake that looks as good as it tastes. Let’s dive in!
Step 1: Bake the Cake
Start with a solid base – the cake layers. Follow these steps for a perfect bake:
- Prepare the Batter
Use your favorite homemade cake recipe or a store-bought cake mix. Follow the instructions carefully to ensure the batter has the right consistency. Classic flavors like vanilla or chocolate work great, but don’t be afraid to experiment with red velvet or lemon for a twist. - Divide and Pour
Grease two round cake pans (8 or 9 inches) and line the bottoms with parchment paper. Evenly pour the batter into each pan. Ensuring equal amounts helps your layers bake evenly, creating a balanced shape. - Bake and Cool
Bake the cakes according to the recipe’s recommended time and temperature. Test for doneness by inserting a toothpick in the center – if it comes out clean, they’re ready. Once baked, remove the cakes from the pans and place them on a wire rack. - Let the Cakes Cool Completely
This step is crucial! Frosting a warm cake will cause the icing to melt and slide off. Allow the cakes to cool completely at room temperature to avoid any mishaps during assembly.
Step 2: Assemble and Frost
Now that your cakes are ready, it’s time to build your masterpiece.
- Level the Cakes
Using a serrated knife, carefully trim off any domed tops. This step creates flat, even surfaces, making it easier to stack and frost the layers seamlessly. - Stack the Layers
Place the first cake layer on a cake stand or turntable for easier decorating. Spread a generous, even layer of frosting on top. Carefully place the second layer over it, ensuring it aligns perfectly. This creates a stable and balanced cake structure. - Frost the Exterior
- Start with a crumb coat: Apply a thin layer of frosting around the entire cake to seal in crumbs. Don’t worry if it’s not perfect – this step is all about prep.
- Chill the cake: Place it in the refrigerator for about 15 minutes to let the crumb coat set. This makes the final frosting smoother and cleaner.
- Finish with the final layer: Apply a thick, smooth coat of white frosting or cover the cake with fondant for a polished, professional look. Use an offset spatula for even application, rotating the cake as you go.
Ready for the Next Steps?
Now that your cake is baked, stacked, and frosted, you’re all set for the fun part: adding those signature baseball details! With red stitching and personal touches, your cake will soon transform into a show-stopping centerpiece.
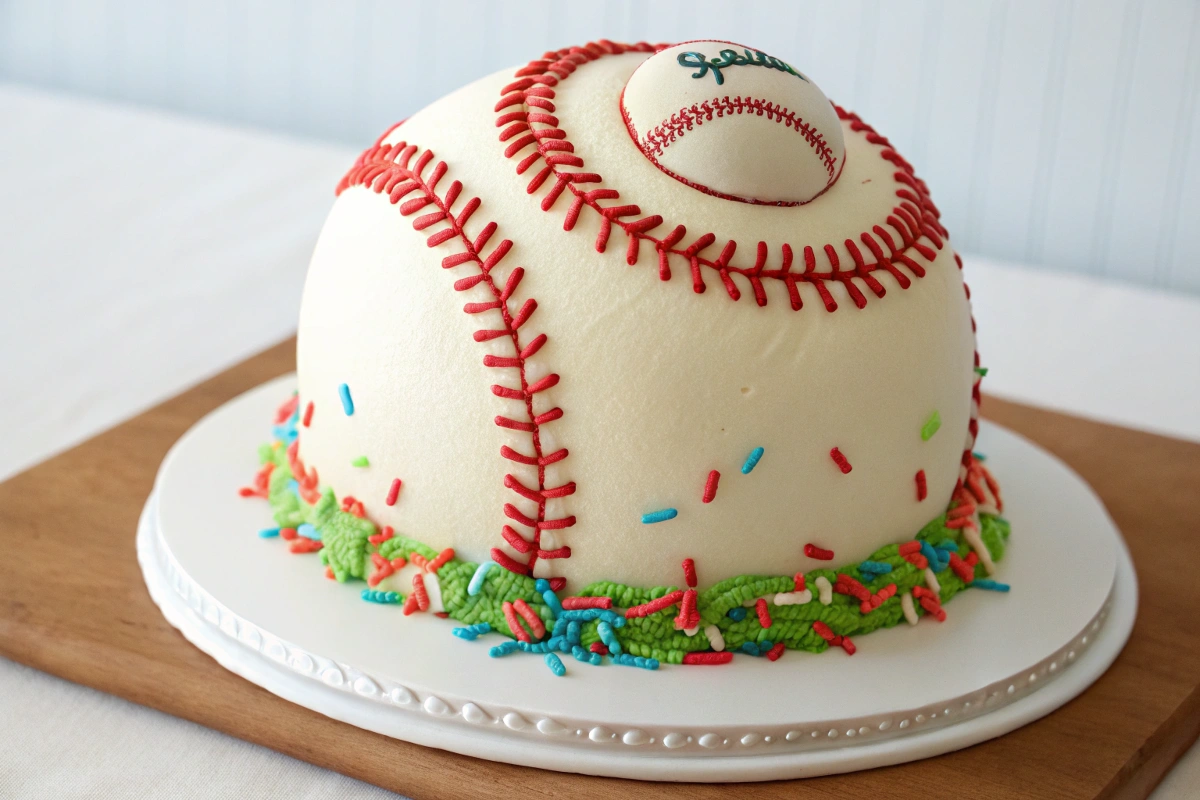
Tip: Use an offset spatula for smooth and even coverage.
Step 3: Add the Red Stitching
Now that your cake has a clean, smooth base, it’s time to give it that signature baseball look. The red stitching details are what truly bring the cake to life, and with a little patience, you can achieve a flawless finish.
- Plan Your Lines
Before you start piping, it’s important to plan the placement of your stitching. Use a toothpick or the edge of a ruler to lightly score two curved lines on opposite sides of the cake. These lines will act as your guide and ensure the stitching looks even and realistic. - Pipe the Stitches
Mix a few drops of red food coloring into white frosting until you achieve a vibrant red shade. Fill a piping bag fitted with a small round tip to maintain precision. Carefully pipe short, V-shaped lines along the curved guidelines you scored earlier. Keep each “V” slightly spaced and uniform in size to mimic the baseball’s classic stitching. - Perfect the Details
Mistakes happen, but don’t worry! If any stitches look uneven, clean up the area with a damp, food-safe brush or the edge of a toothpick. A little touch-up can make a big difference in achieving a professional finish. - Pro Tip
To keep the stitching evenly spaced, mark small dots or dashes along your guide lines before piping. This extra step helps you avoid errors and keeps the design clean and symmetrical.
Step 4: Add Personalized Touches (Optional)
Want to take your baseball cake to the next level? Adding personalized details is a fantastic way to make it unique and special for the occasion.
- Logos and Lettering
Roll out colored fondant and use small cutters or a sharp knife to craft team logos, jersey numbers, or letters. Carefully place these on the cake using a bit of water or edible glue to keep them in place. These details not only make the cake stand out but also add a personal connection for the recipient. - Player Names or Team Slogans
Add the name of a favorite player, the birthday star, or a motivating team slogan using fondant or piped icing. Position the text strategically on the cake, like along the sides or center, to maintain balance in the design.
Step Back and Admire Your Masterpiece
Once you’ve added the final touches, take a moment to admire your creation. The realistic stitching, clean frosting, and personalized details all come together to make a baseball cake that’s as impressive as it is delicious. Now it’s time to share your hard work and wow your guests!
Baseball Cake Decoration Ideas for Inspiration
If you’re ready to knock your baseball cake out of the park, these creative ideas will help you elevate your design. Whether you want something simple or a show-stopping masterpiece, these variations are sure to inspire and impress.
1. 3D Baseball Cake
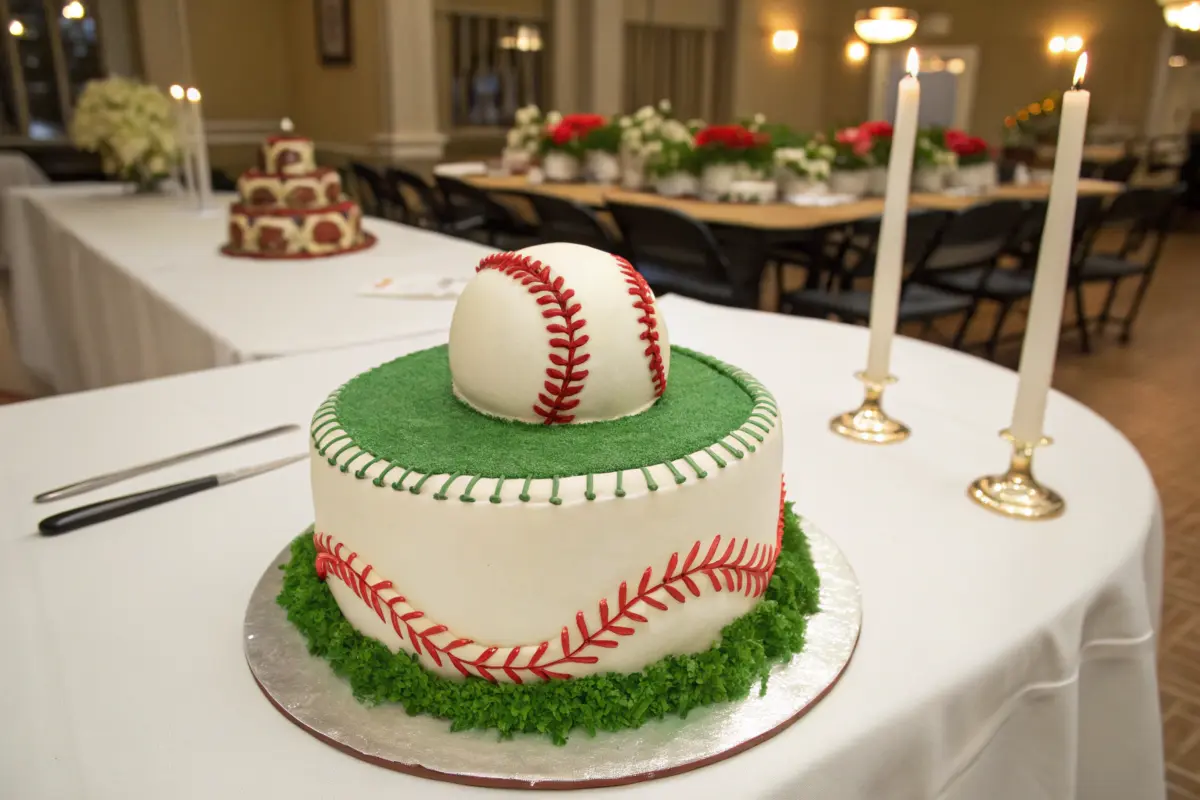
Take your cake to the next level with a realistic 3D baseball design. Start by stacking multiple layers of cake to create height. Once stacked, carefully carve the cake into a sphere, smoothing out any uneven edges. Cover the entire ball with fondant or white frosting to achieve that signature baseball look. Finally, use red icing to add the stitching detail for an authentic finish. This impressive cake is guaranteed to wow any baseball fan and works perfectly as a centerpiece for any sports-themed celebration.
2. Baseball Glove or Bat Cake
Looking for a unique twist on the classic baseball theme? Try a glove or bat cake design. For the baseball glove, carve the cake into a curved hand shape and use beige or brown fondant to replicate the leather look. Add realistic stitching and detailing to make it pop. For a bat cake, shape the cake into a long cylinder and use chocolate or wood-toned frosting for a lifelike bat effect. Both designs are fun, eye-catching, and ideal for anyone who loves creativity in their desserts.
3. Team Jersey Cake
Celebrate a favorite team or player with a jersey cake. Start with a rectangular cake as your base, and use fondant or frosting to recreate a team jersey’s design. Choose the team’s colors and add a personalized touch with a name and number. You can even include extra details like patches, logos, or stripes for added realism. This idea is perfect for sports birthdays, team celebrations, or honoring a die-hard baseball fan.
4. Stadium-Themed Cake
For a cake that truly stands out, transform your creation into a mini baseball stadium. Use green frosting to create the “grass” and white icing to mark the bases and field lines. Place figurines or small edible players around the field for an added touch of fun. You can build stands using cake pieces, cookies, or candy bars to complete the stadium look. This cake isn’t just delicious – it’s an interactive, creative showpiece that will thrill sports lovers of all ages.
5. Cupcake Baseballs
If you prefer individual servings, baseball-themed cupcakes are an adorable and practical choice. Bake a batch of cupcakes and frost them with smooth white icing. Use red piping to create stitching lines, mimicking the look of real baseballs. These mini treats are easy to serve, great for kids, and perfect for parties or game-day gatherings. They’re quick to decorate but pack a big visual punch.
Let Your Creativity Shine
From 3D baseballs to stadium masterpieces, the possibilities for baseball-themed cakes are endless. You can mix and match these ideas or personalize them to suit any occasion. Whether you’re celebrating a birthday, a big game win, or a sports-themed party, these creative cake designs are sure to be a grand slam. So grab your tools, unleash your imagination, and create a cake that everyone will remember!
Why a Baseball Cake is Perfect for Any Occasion
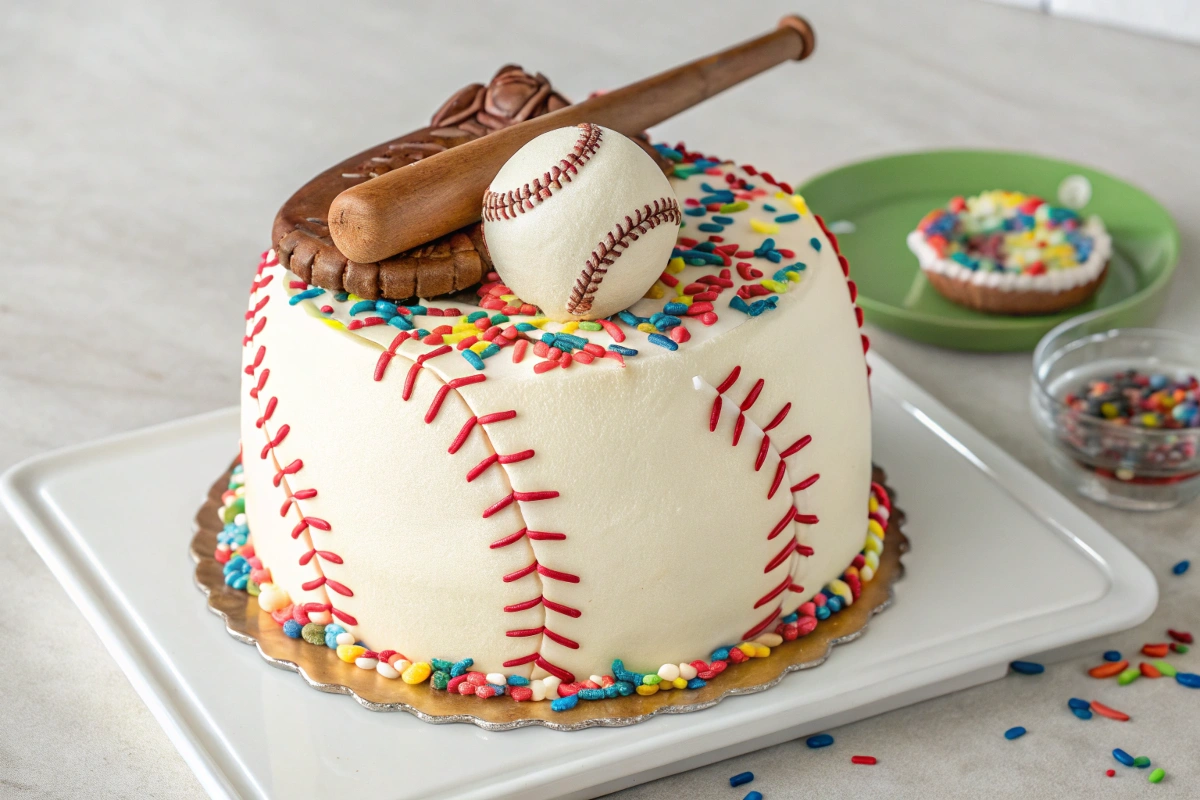
A baseball cake isn’t just visually appealing—it’s also versatile. Here’s why it’s perfect for any sports-themed celebration:
1. Birthday Parties
Celebrate a baseball fan’s special day with a customized cake featuring their favorite team or player.
2. Sports Team Celebrations
Whether it’s the end of the season or a big win, a baseball cake is a delicious way to celebrate the team’s achievements.
3. Game Day Events
Bring a baseball cake to a game day gathering to score big with sports enthusiasts and dessert lovers alike.
From kids’ birthdays to major sports events, a baseball cake fits the theme perfectly and leaves a lasting impression.
FAQs about Baseball Cake
Q1: Can I use fondant instead of frosting for the baseball cake? Yes! Fondant creates a smooth, polished look, while frosting offers a more traditional, homemade feel. Choose based on your preference and comfort level.
Q2: How do I keep my piping lines even?
Lightly score the frosting with a toothpick before piping the red stitches. This ensures even placement and spacing.
Q3: How do I make a spherical 3D baseball cake?
Use a round cake mold or carve stacked cake layers into a sphere. Cover with fondant or smooth frosting to complete the look.
Q4: Can I make the baseball cake ahead of time?
Yes! Bake and frost the cake a day in advance. Store it in the refrigerator and add final decorations on the day of the event.
Q6: How do you make a cake look like a baseball?
Bake two round cake layers. Stack and frost them with white icing or fondant. Add red V-shaped lines with icing to mimic the baseball stitching.
Q7: What is the baseball term “cake”?
The term “cake” in baseball refers to an easy or effortless play, similar to saying “a piece of cake.”
Q8: How do you ice baseball cupcakes?
Frost cupcakes with smooth white icing. Use red piping to add curved stitching lines, like those on a baseball. Simple and effective!
Conclusion
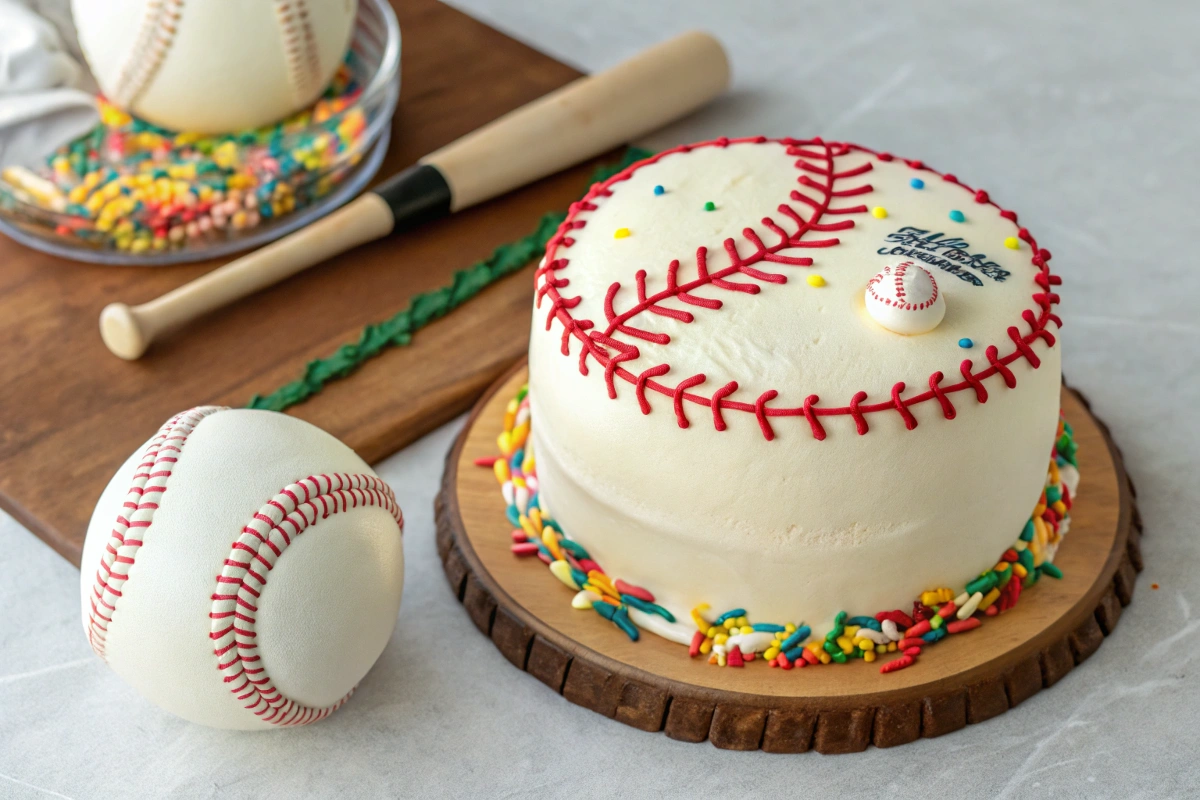
A baseball cake is not only a showstopper but also a fun project for bakers of all levels. With simple tools and step-by-step guidance, you can create a cake that’s both delicious and visually stunning. Whether you choose a classic design or add unique touches, your baseball cake is sure to impress guests at your next sports-themed event.
Ready to create your baseball cake masterpiece? Start baking today and share your results with us!

1 thought on “Hit a Home Run with Your Cake: Step-by-Step Guide to the Perfect Baseball Cake!”