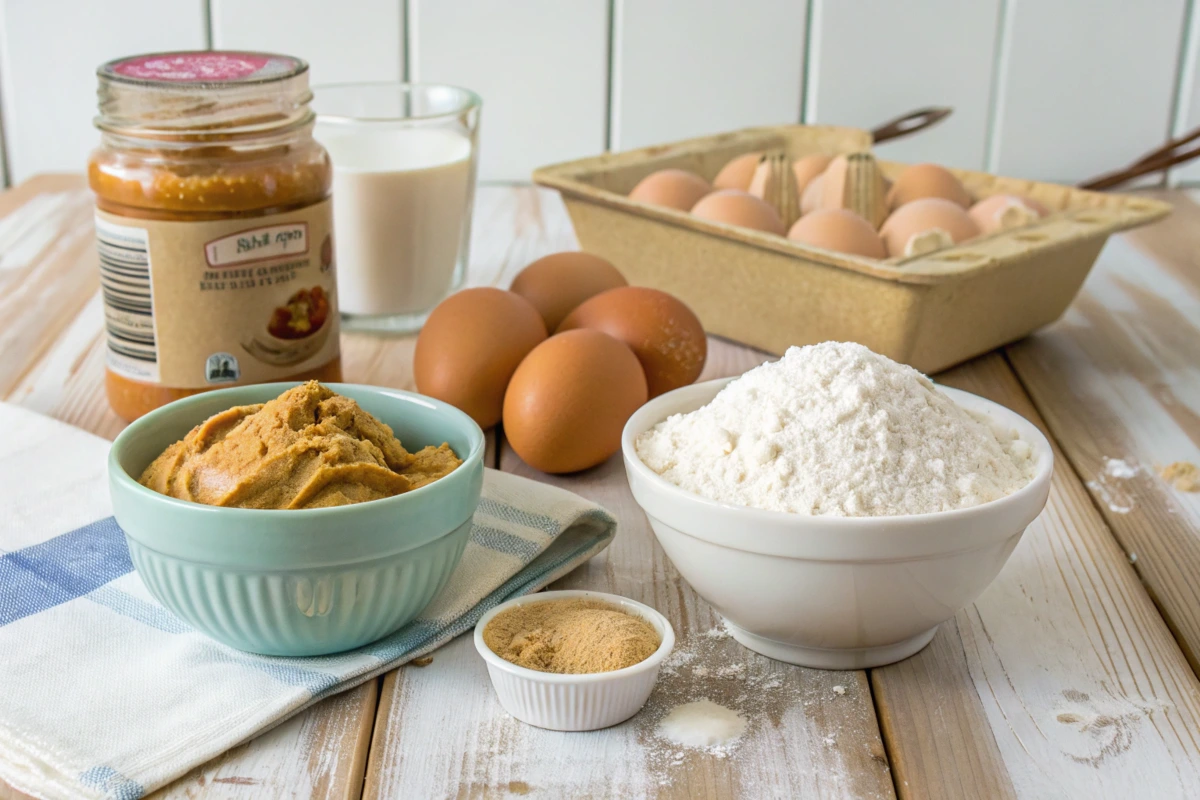
Craving something sweet but don’t want to spend hours in the kitchen? The 4 Ingredient Peanut Butter Cookies recipe is your ultimate solution. This quick and fuss-free recipe has gained immense popularity for its ease and deliciousness. Whether you’re a seasoned baker or a beginner, these cookies promise a satisfying experience without the need for fancy techniques.
What makes this recipe a must-try is its universal appeal. With just four basic pantry staples, you can whip up a batch of cookies in under 30 minutes. There’s no need for special ingredients or complicated steps. It’s perfect for those last-minute dessert cravings or when you need a simple treat for unexpected guests.
These cookies are also highly versatile. They cater to various dietary preferences and restrictions. For example, they’re naturally gluten-free, and with minor tweaks, they can even be made vegan. Plus, their soft, chewy texture and rich, nutty flavor make them a crowd-pleaser every time.
The Simplicity of 4 Ingredients
The beauty of this recipe lies in its simplicity. Let’s take a quick look at the four essential components:
- Peanut Butter: The star of the show, adding richness and a creamy texture.
- Sugar: Provides sweetness and helps in binding the cookies.
- Egg: Adds structure and ensures the cookies hold their shape during baking.
- Vanilla Extract (Optional): Enhances the flavor, making the cookies more aromatic and delightful.
By focusing on these four ingredients, you eliminate the stress of shopping for hard-to-find items. This straightforward approach also ensures you get the perfect batch every time. Plus, the minimal ingredient list means fewer chances of making mistakes, making it ideal for beginners.
Why You’ll Love These Cookies
- Quick Prep: Ready in less than 10 minutes.
- No Special Equipment: A bowl and a spoon are all you need.
- Customizable: Add chocolate chips, drizzle with caramel, or sprinkle sea salt for a gourmet twist.
- Kid-Friendly: Easy enough for kids to join the fun, creating memorable family moments.
These cookies prove that delicious doesn’t have to mean complicated. It’s a recipe that celebrates simplicity without compromising on taste.
Step-by-Step Instructions
Preparing Your Workspace
Before diving into the fun part—making cookies—it’s essential to prepare your workspace. A little organization goes a long way in ensuring a smooth baking experience. Start by clearing your kitchen counter or work area to give yourself ample space. Make sure all your tools, ingredients, and baking trays are within arm’s reach.
Here’s a quick checklist to get started:
- Preheat Your Oven: Set your oven to 350°F (175°C) to ensure it’s ready when you are.
- Line Your Baking Tray: Use parchment paper or a silicone baking mat to prevent sticking and make cleanup effortless.
- Gather Your Tools: You’ll need a mixing bowl, a sturdy spoon or spatula, and a fork for flattening the cookies.
Taking these steps ensures you won’t scramble for items mid-prep, keeping the process efficient and enjoyable.
Combining the Ingredients
Now it’s time to create your cookie dough! Follow these simple steps for foolproof results:
- Measure Ingredients Accurately: Precision is key to getting the right consistency.
- Mix Dry Ingredients First: Combine your sugar with any optional dry flavorings, such as cinnamon or cocoa powder, in the bowl.
- Add Wet Ingredients: Pour in your peanut butter and vanilla extract. Crack the egg directly into the bowl.
- Stir Thoroughly: Use a spatula or spoon to mix until you get a smooth, cohesive dough. This process should only take a couple of minutes.
The dough should be slightly sticky but firm enough to hold its shape when rolled into balls.
Baking the Cookies
The magic happens in the oven! Follow these baking steps for perfect cookies every time:
- Shape the Dough: Scoop about a tablespoon of dough and roll it into a ball. Place the balls on your lined baking tray, leaving space between each cookie to allow for spreading.
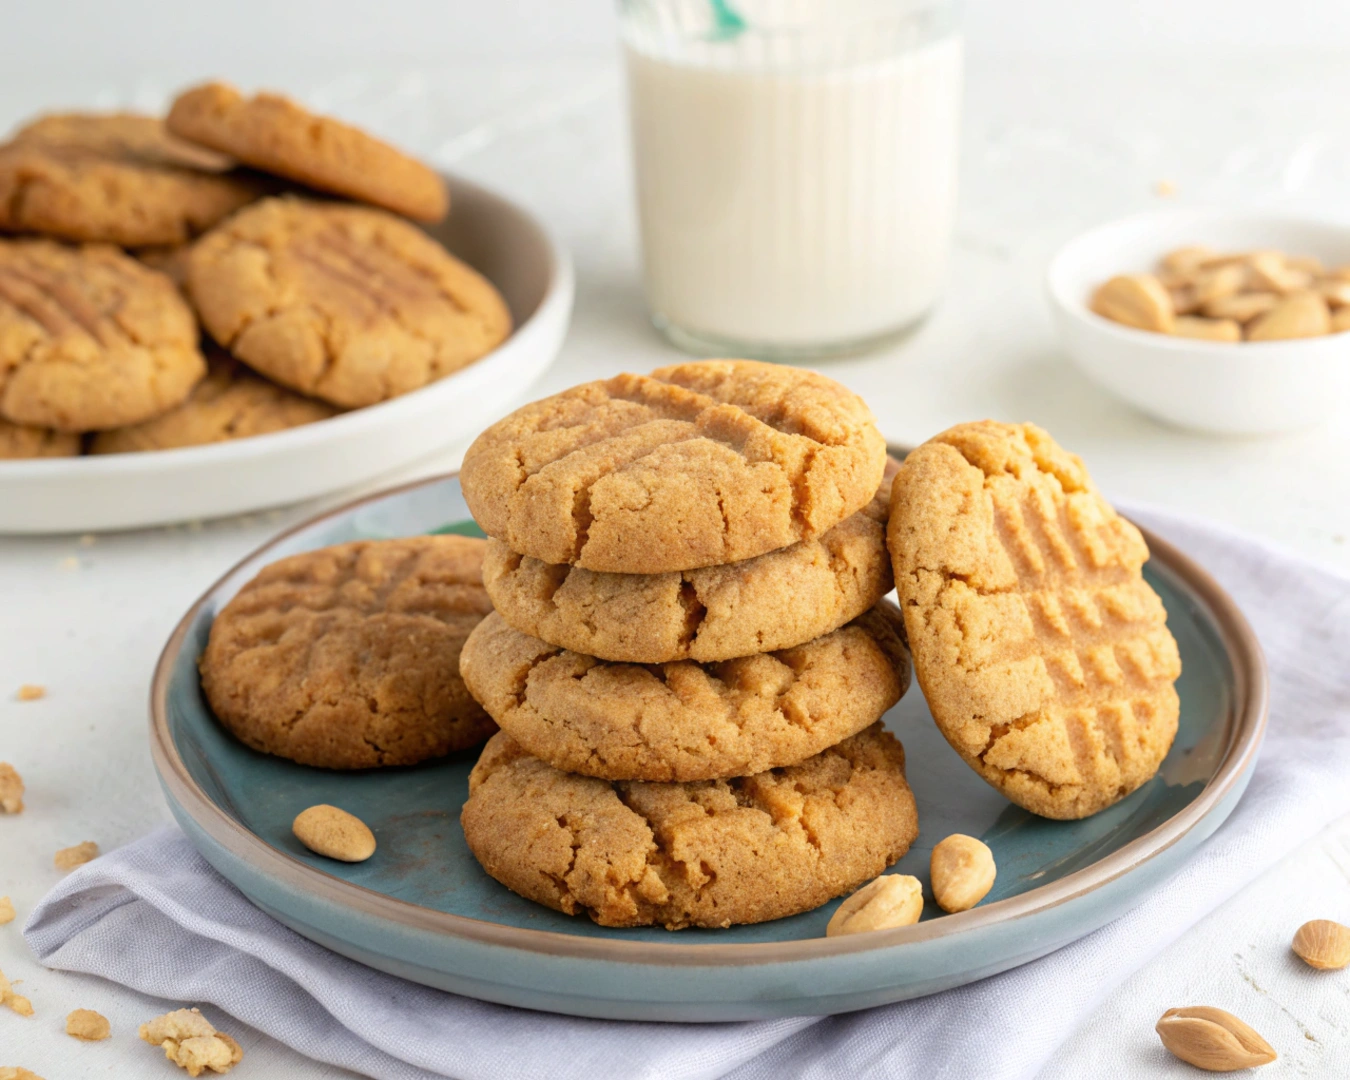
- Flatten with a Fork: Gently press each ball with a fork to create the classic crisscross pattern. This also helps the cookies bake evenly.
- Bake to Perfection: Place the tray in the preheated oven and bake for 10–12 minutes. Keep an eye on the cookies during the last few minutes to avoid overbaking.
- Cool Completely: Let the cookies rest on the tray for 5 minutes, then transfer them to a wire rack to cool completely.
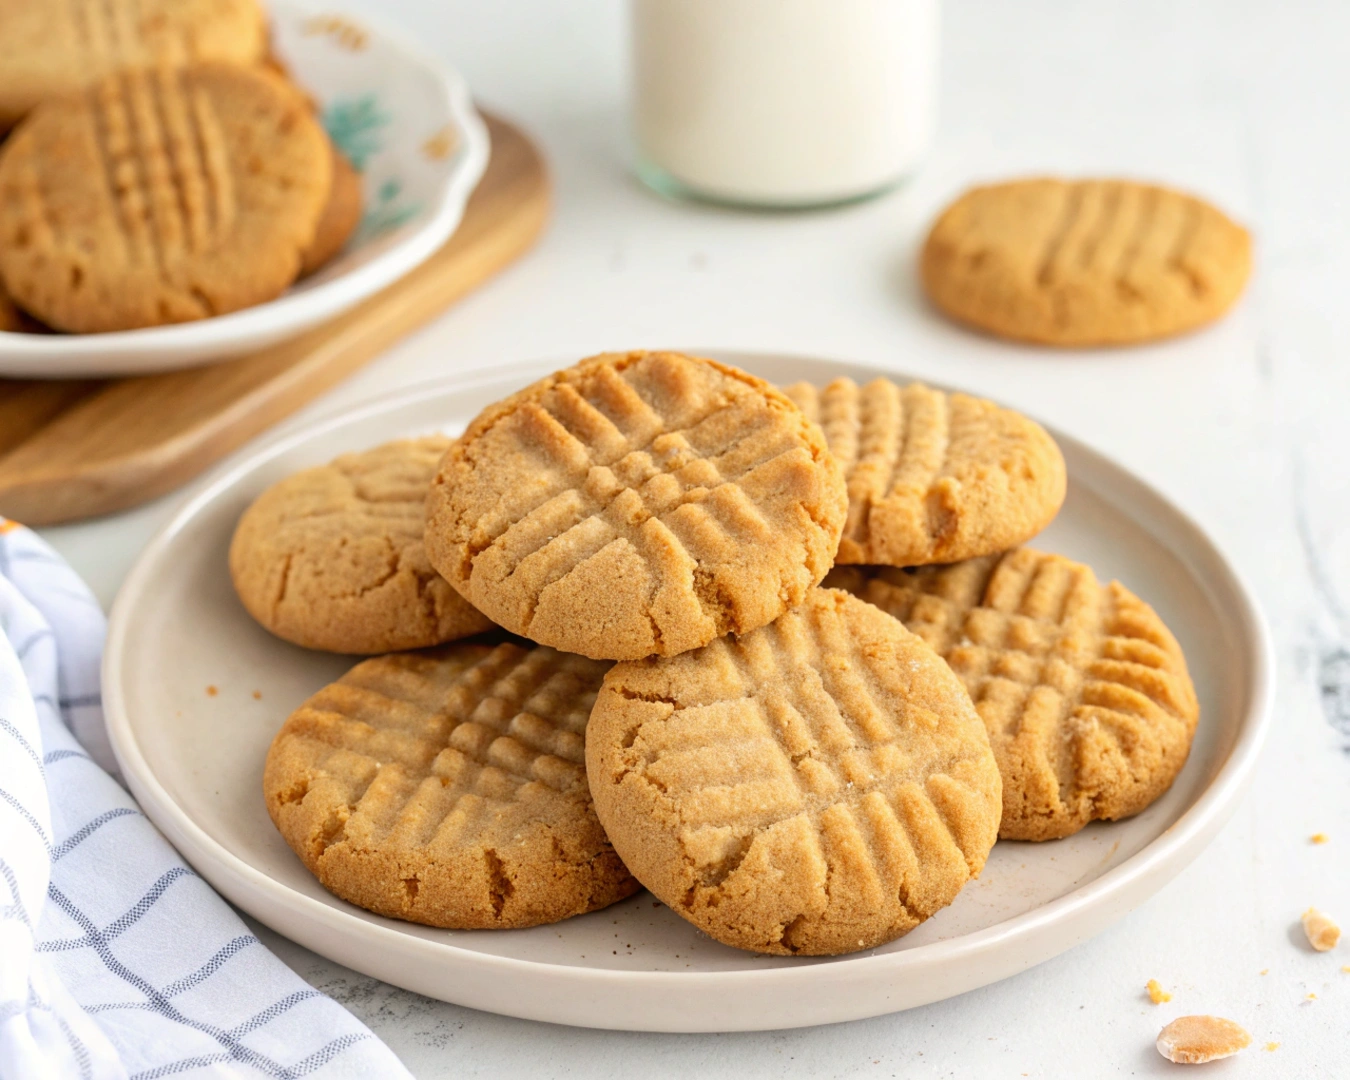
The result? Golden brown cookies with a soft, chewy interior and a hint of crispness on the edges.
Secrets to Perfect Texture
Ensuring Chewiness or Crispness
The texture of your cookies depends on a few small tweaks:
- For Chewier Cookies: Reduce the baking time by 1–2 minutes and use creamy peanut butter for a softer bite.
- For Crispier Cookies: Bake for an extra 2–3 minutes and opt for natural peanut butter with less added oil.
These adjustments allow you to tailor the cookies to your preference.
Avoiding Common Baking Mistakes
Even the simplest recipes can go awry without a little attention to detail. Here’s how to avoid common pitfalls:
- Don’t Overmix: Stir the dough just until combined to avoid dense cookies.
- Monitor Baking Time: Overbaking can lead to hard, dry cookies. Set a timer and check your cookies as they near completion.
- Room Temperature Ingredients: Using cold ingredients can make the dough harder to mix, affecting the texture.
- Proper Measuring: Scoop peanut butter with a level measuring cup to avoid excess oil in the dough.
Mastering these small tricks ensures your cookies turn out perfect every single time.
Common Variations and Add-ins
Adding Chocolate Chips
For a rich, indulgent twist, try incorporating chocolate chips into your dough. The chocolate not only adds sweetness but also creates a gooey texture that pairs beautifully with the nutty flavor of peanut butter.
How to Add Them:
- Stir in about ½ cup of semi-sweet or milk chocolate chips after mixing the dough.
- Ensure the chips are evenly distributed for consistent bites of chocolatey goodness.
If you’re feeling adventurous, swap traditional chips for white chocolate or dark chocolate chunks.
Making Them Gluten-Free
These cookies are already gluten-free by nature, but to ensure absolute compliance, check your ingredients:
- Use certified gluten-free peanut butter and sugar to avoid cross-contamination.
- Double-check any add-ins like chocolate chips to ensure they’re labeled gluten-free.
With these steps, you can confidently serve these treats to gluten-sensitive friends or family.
Enhancing Flavors with Spices
Spices can elevate the flavor profile of your peanut butter cookies without much effort. Consider these simple additions:
- Cinnamon: A teaspoon of ground cinnamon adds warmth and depth.
- Nutmeg: Just a pinch offers a hint of spiciness.
- Vanilla Bean: Swap vanilla extract for scraped vanilla beans for a more intense flavor.
These subtle enhancements create a gourmet touch, making your cookies unforgettable.
Nutritional Breakdown
Calories Per Cookie
A single 4-ingredient peanut butter cookie typically contains around 100–150 calories, depending on the size and specific ingredients used. While they’re indulgent, they can fit into most dietary plans when enjoyed in moderation.
Macronutrient Details
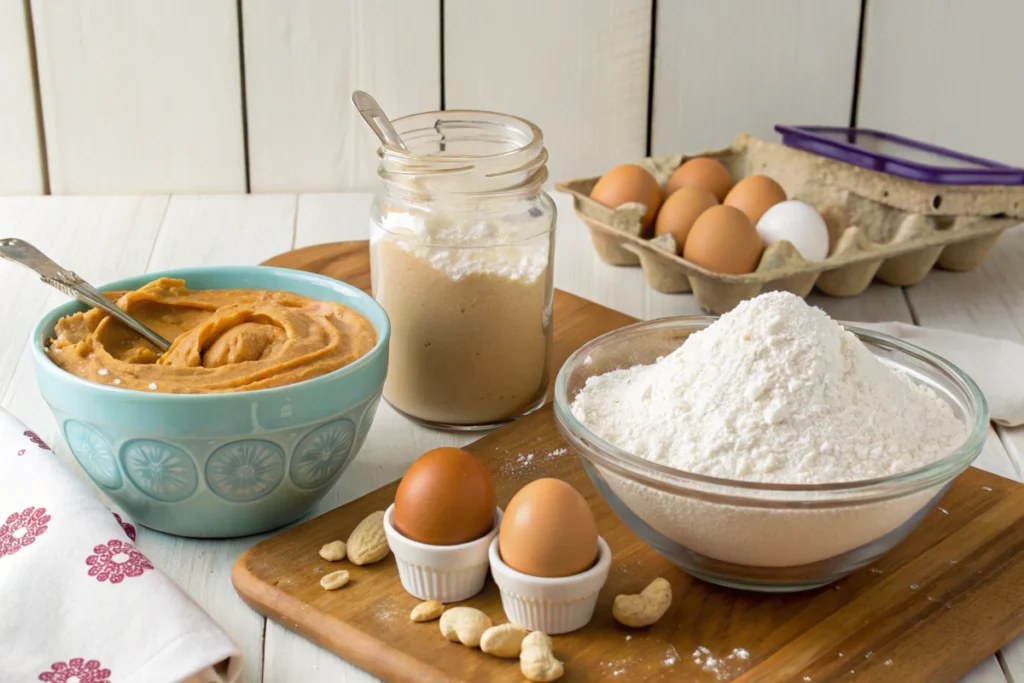
Here’s a rough breakdown of the macronutrients per cookie:
- Protein: 4–6 grams, thanks to the peanut butter and egg.
- Carbohydrates: 8–10 grams, primarily from sugar.
- Fat: 6–8 grams, predominantly healthy fats from peanut butter.
This balance makes the cookies a satisfying treat that can curb hunger without spiking blood sugar levels drastically.
Health Benefits of Peanut Butter
Peanut butter, the star ingredient, offers numerous health perks:
- Rich in Healthy Fats: These fats support heart health and improve cholesterol levels.
- Protein Powerhouse: Provides sustained energy and aids in muscle repair.
- Packed with Nutrients: Contains magnesium, potassium, and Vitamin E for overall wellness.
When paired with simple ingredients, peanut butter cookies become a snack you can savor without guilt.
Storage Tips for Freshness
Proper storage ensures your 4-ingredient peanut butter cookies remain as delicious as the day they were baked. Whether you plan to enjoy them soon or save them for later, these tips will keep your cookies fresh and flavorful.
Short-Term Storage Solutions
If you plan to consume your cookies within a few days, follow these simple storage methods:
- Use an Airtight Container:
- Place your cooled cookies in an airtight container to prevent them from drying out.
- Add a slice of bread to the container to maintain moisture, as the bread will absorb any excess air.
- Store at Room Temperature:
- Keep the container in a cool, dry place, away from direct sunlight or heat.
- Your cookies will stay fresh for up to 5 days.
- Layer with Parchment Paper:
- If you’re stacking cookies, place a sheet of parchment paper between layers to prevent sticking or crumbling.
Freezing and Reheating Techniques
For longer-term storage, freezing is an excellent option to preserve your cookies without compromising their taste or texture.
Steps to Freeze Cookies:
- Cool Completely: Ensure the cookies are fully cooled before freezing to prevent condensation and sogginess.
- Wrap Individually: Wrap each cookie in plastic wrap or aluminum foil to keep them fresh.
- Store in a Freezer Bag: Place the wrapped cookies in a resealable freezer-safe bag or container. Remove as much air as possible before sealing.
Shelf Life in the Freezer:
- Frozen cookies maintain their quality for up to 3 months.
Reheating Frozen Cookies
When you’re ready to enjoy your frozen cookies, reheating them properly will bring back their fresh-from-the-oven appeal:
- Thaw at Room Temperature:
- Remove the cookies from the freezer and let them thaw for about 20–30 minutes.
- Warm in the Oven:
- Preheat your oven to 300°F (150°C).
- Place the cookies on a baking sheet and heat for 5–8 minutes to restore their softness and aroma.
- Microwave Option:
- For a quicker method, microwave the cookie for 10–15 seconds. Be cautious to avoid overheating, which can make the cookie hard.
Pro Tip: You can also freeze cookie dough instead of baked cookies. This allows you to bake fresh batches on demand!
By following these storage and reheating tips, you can savor the delightful taste of your peanut butter cookies whenever you crave them.
Serving Suggestions
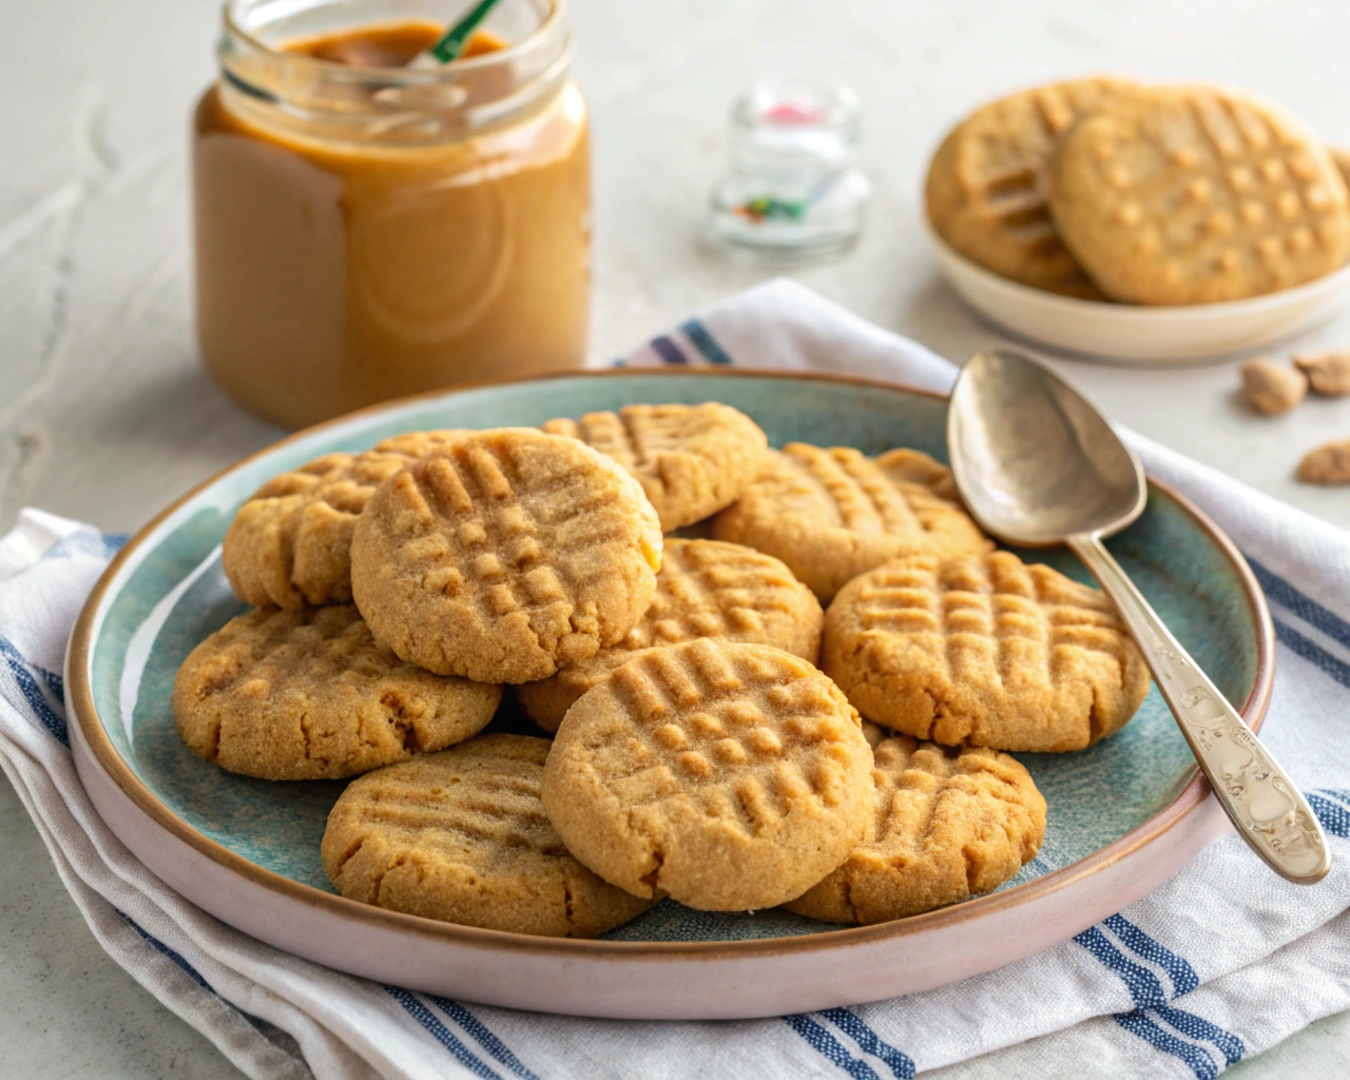
Your 4-ingredient peanut butter cookies are a versatile treat, perfect for any occasion. Whether served as a standalone snack or as part of a creative dessert, these ideas will elevate your cookie experience.
Pairing Cookies with Drinks
The right beverage can enhance the flavor of your cookies, making each bite more enjoyable:
- Classic Milk:
- A glass of cold milk complements the creamy, nutty richness of the cookies.
- For a twist, try almond or oat milk for subtle flavor variations.
- Coffee or Espresso:
- Pairing these cookies with a cup of bold coffee creates a balance between the sweet and bitter notes.
- Peanut butter cookies also pair beautifully with a latte or cappuccino.
- Hot Chocolate:
- The cookies’ nutty sweetness blends harmoniously with the rich, velvety flavor of hot cocoa.
- Add a dollop of whipped cream to your hot chocolate for an indulgent pairing.
- Tea:
- Mild teas, like chamomile or green tea, let the cookie’s flavor shine.
- For a spicier pairing, chai tea provides a warm, comforting contrast.
Creative Ways to Use Cookies in Desserts
Transform your cookies into show-stopping desserts with these inventive ideas:
- Ice Cream Sandwiches:
- Place a scoop of your favorite ice cream between two cookies for a decadent treat.
- Roll the edges in mini chocolate chips or crushed nuts for added texture.
- Cookie Crumbles:
- Crush the cookies and use them as a topping for yogurt, oatmeal, or parfaits.
- Sprinkle over cakes or pies to add a crunchy peanut butter twist.
- Layered Desserts:
- Incorporate cookie pieces into a trifle with whipped cream, chocolate pudding, and fresh berries.
- Use them as layers in a no-bake cheesecake for a unique crust alternative.
- Peanut Butter Cookie Sundaes:
- Serve the cookies warm alongside a scoop of vanilla ice cream.
- Drizzle with chocolate syrup and sprinkle with chopped peanuts for a crowd-pleasing dessert.
By pairing and repurposing your cookies, you can enjoy them in ways you never imagined!
Troubleshooting Tips
Sometimes, even the best recipes don’t go as planned. Here are solutions to common issues you may encounter while baking peanut butter cookies.
Why Your Cookies Might Be Too Dry
Dry cookies can be disappointing, but the causes are easy to identify and fix:
- Overbaking:
- Peanut butter cookies can dry out if left in the oven for too long.
- Solution: Remove them as soon as the edges are firm but the centers remain soft. They’ll continue to cook slightly on the baking sheet.
- Incorrect Ingredient Ratios:
- Adding too much flour or not enough peanut butter can lead to dryness.
- Solution: Stick to the recipe’s exact measurements, and use creamy peanut butter for added moisture.
- Low-Quality Peanut Butter:
- Natural or low-fat peanut butters can make cookies crumbly due to their lower fat content.
- Solution: Opt for regular peanut butter for a smoother texture.
Solutions for Underbaking
Underbaked cookies may taste good but lack the desired structure. Here’s how to resolve this:
- Too Short Bake Time:
- Pulling cookies out of the oven too early results in a gooey center.
- Solution: Check your cookies a minute before the recommended bake time, then bake longer if needed.
- Uneven Baking:
- Hot spots in your oven can lead to unevenly baked cookies.
- Solution: Rotate your baking sheet halfway through cooking to ensure even heat distribution.
- Incorrect Oven Temperature:
- An oven running too cool might leave the cookies undercooked.
- Solution: Use an oven thermometer to confirm the temperature is accurate.
By following these tips, you’ll troubleshoot like a pro and perfect your cookies every time!
Gluten-Free or Dairy-Free Options
Adapting the recipe for dietary needs is simple:
Gluten-Free Adjustments
These cookies are naturally gluten-free, but ensure your peanut butter and sugar are free from cross-contamination.
Dairy-Free Adjustments
- No dairy? No problem! This recipe already avoids butter or milk.
- Double-check your sugar and peanut butter brands for hidden dairy.
For added flavor, sprinkle the cookies with sea salt before baking or drizzle with dairy-free chocolate after cooling.
Why 4 Ingredient Peanut Butter Cookies Are Trending
This recipe has taken the baking world by storm, becoming a favorite among busy bakers and influencers alike.
Popularity Among Busy Bakers
- Quick Prep: With minimal ingredients, these cookies are ready in under 30 minutes.
- Budget-Friendly: Perfect for satisfying sweet cravings without breaking the bank.
- All Skill Levels: Whether you’re a beginner or a seasoned baker, this recipe is foolproof.
Social Media Buzz and 4 Ingredient Peanut Butter Cookies
Platforms like Instagram and TikTok have made these cookies a viral sensation.
- Influencers showcase their unique twists, such as adding sprinkles or Nutella swirls.
- Hashtags like #EasyCookies and #4IngredientBaking are filled with stunning cookie photos.
Their simplicity and versatility make them a star on social feeds, inspiring countless variations.
FAQs About 4 Ingredient Peanut Butter Cookies
Readers often have questions about this quick and simple recipe. Here are six common queries answered in detail to ensure your baking success.
1. Can I Use Any Peanut Butter?
Yes, but the type of peanut butter affects the texture.
- Regular Peanut Butter: Creates a creamy and cohesive dough.
- Natural Peanut Butter: Adds a nutty flavor but may result in crumblier cookies due to less stabilizing oil.
- Crunchy Peanut Butter: Adds delightful texture with peanut chunks.
2. Do I Need to Chill the Dough?
Chilling is optional but beneficial:
- For softer cookies, skip chilling.
- For firmer cookies that hold their shape, refrigerate the dough for 20–30 minutes.
3. Can I Substitute the Sugar?
Yes, there are alternative sweeteners:
- Brown Sugar: Adds moisture and a caramel flavor.
- Coconut Sugar: A healthier, unrefined option.
- Sugar-Free Alternatives: Choose erythritol or monk fruit for low-carb versions.
4. How Long Do These Cookies Last?
- At room temperature: 3–5 days in an airtight container.
- In the refrigerator: Up to 2 weeks when sealed tightly.
- In the freezer: 3 months if wrapped and stored properly.
5. Can I Make These Vegan?
Yes, you can adapt this recipe for a plant-based diet:
- Use flaxseed meal or chia seeds mixed with water as an egg substitute.
- Opt for vegan-friendly peanut butter brands.
6. What’s the Best Way to Prevent Sticky Dough?
Sticky dough can be tricky to handle:
- Lightly grease your hands or use a cookie scoop.
- Dust your workspace with a small amount of flour if necessary.
Conclusion:
n a world of complex recipes, 4-ingredient peanut butter cookies remind us of the beauty in simplicity. These cookies offer more than just convenience—they deliver on flavor, texture, and nostalgia.
Each bite is a testament to how a few pantry staples can create magic in the kitchen. Whether you’re baking for yourself, your family, or a gathering, this recipe is sure to impress. So grab those four ingredients and start baking—your perfect peanut butter cookie adventure awaits!
If you love easy, flavorful treats, be sure to check out our Nestle Chocolate Chip Cookie Recipe or try our Healthy Cottage Cheese Recipes for a wholesome twist. And for more delicious dinner ideas, explore the Chicken and Peppers Recipe!
Table of Contents
For additional recipe inspiration, visit us on Facebook!

